Renard and the Strawberries


The Hunt for a Non-Toxic Solvent: Part III
By Justin Gerard
Back in May of 2011 I wrote an article on Muddy Colors detailing my on-going search for an oil painting medium that would provide me with the following characteristics:
1. Workability - That the paint itself allows for the smooth, buttery application consistent with that of traditional oil paints.
2. Archival-Longevity - That the final product will not suffer from any unreasonable, long-term degradation. (cracking, colors fading or darkening, wrinkling)
3. Fast-Drying - That if needed, a thin layer could be touch-dry, ready-to-paint-over, within 24 hours, but the medium itself stays workable for at least 8 hours.
4. Non-Toxic - That you can work solvent-free and in a non-toxic studio environment.
It was easy to find a medium that would offer three but seemed impossible to find a suitable one that would offer all four. Now finally, four years later I believe that I may have found a solution:
Enter: Gamblin’s Solvent-Free Fluid
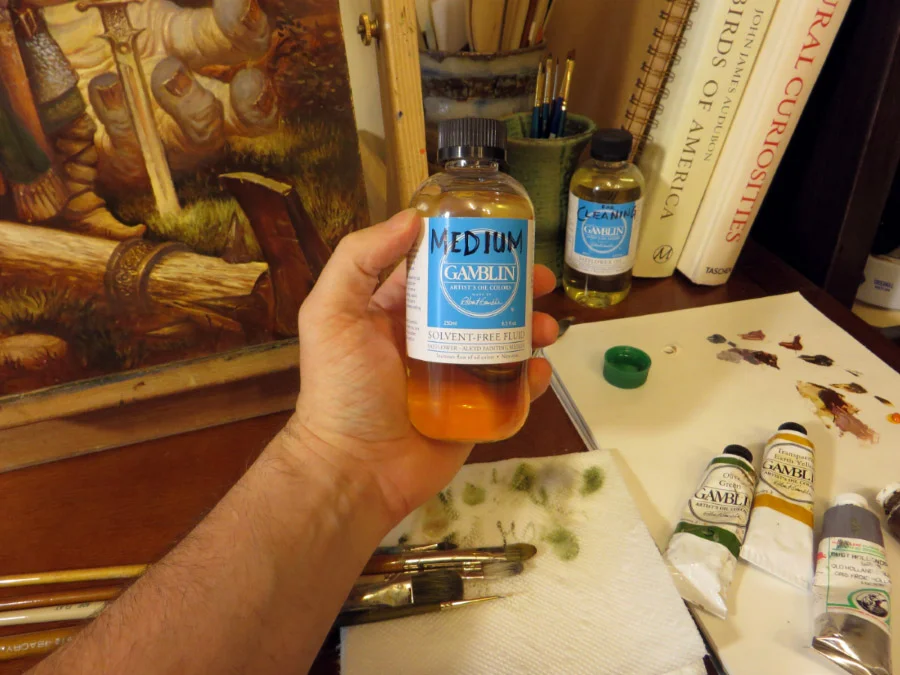
The folks at Gamblin recently created this medium by adding an soy-based alkyd drying agent to Safflower oil. Safflower oil is wonderfully fluid and a pleasure to work with, but has the drawback of taking forever to dry. So for painters who are interested in painting indirectly using several layers, it can be problematic.
How is Gamblin's Solvent-Free-Method more similar to solvents than other mediums?Previously I had been using mediums based on either sun-thickened linseed oil or M. Graham’s Walnut Alkyd medium. Compared to these mediums, this medium is incredibly fluid and much more workable.
It is much easier for me to get quick coverage of an area, and then simply not add any fluid if I want to slow down and paint an area with more control.
I found that if I need to carve out an area that I had already painted, (to sharpen the edges of a glaze for instance) that it allowed me to do this far more easily than other traditional mediums.
In general, I found that it allowed for a broader range of brushwork techniques than other mediums.
How is it different from working with actual solvents?
Compared to odorless mineral spirits it is still highly fluid, though not quite as fluid as OMS. I did however, find that it was close enough for my purposes.)
The main difference that I can see is that OMS evaporates as it dries, so your layer is extremely thin and there is very little build up. With Gamblin Solvent-Free Fluid you will have slightly more build-up since the medium does not evaporate and remains in the paint. Because of this Gamblin recommends never mixing more than 25% Solvent-Free Fluid with your paints.
Is the drying time noticeably better than traditional mediums?
Yes! I found that thin layers were dry in about 24 hours. While this was generally slower than OMS mixed with galkyd, liquin or a cobalt dryer, it was still much faster than other traditional mediums. I would compare it to the drying speed of M. Graham’s Walnut Alkyd Medium but with far more workability.
Is it easy to clean?
Yes. Gamblin recommended using Safflower oil for cleaning brushes so I decided to try that and was really pleased with the results. You definitely don’t need any turps or solvents to clean with this medium. If you need to get your brushes clean for longer storage, a simple bathroom cleaning glove and a bar of soap and water will suffice to get your brushes perfectly clean.
A note on cleaning: The medium itself will stay open on your palette for several days. The tiny cap in the picture above stayed open and usable for several days, even while the thin layers on the canvas dried overnight. This amazed me since I had not sealed it in any way and planned on throwing it out the next day (which is what I would have been forced to do with other alkyd mediums).
This is good news as it means that even if you forget to clean your brushes the night before you will have no trouble getting them clean the next day.
A second note: Gamblin’s Safflower and their Solvent-Free Fluid look the same. This confusion led to studio mishaps, where Annie and I accidentally used the wrong one and couldn’t figure out why our paintings hadn’t dried in a week.
This is why the bottles now have hastily scrawled titles to keep them separate. Never again.
I’M LOOKING AT YOU GAMBLIN LABEL DEPARTMENT.
Would you recommend it?
Yes I would. It has been an absolute pleasure to work with so far and has gotten me excited about oil painting again.
My final verdict is if you do not have any trouble with turps and mineral spirits, you might find that OMS mixed with galkyd or liquin will work better for you. But if you are wanting to go non-toxic and solvent-free, then I would absolutely recommend this product.
I will add one last word of caution that this is a new medium which has not had time to be heavily tested for its long-term archival quality. As with any new medium, we can't know exactly how it will look in 100 years. But the ingredients list seems clean and simple (which is always good for oil paint) and I feel like Gamblin is a trustworthy company which tests its products heavily and has a long history of providing excellent, archival painting materials.

As always, if you have found an oil painting medium out there that you believe meets the 4 challenges above let me know in the comments and I will test it out!
Further Reading:
Link to Dan Dos Santos Write-Up on Studio Safety: Solvents
Link to Gamblin's Mediums section
Sea Songs

"Sea Songs", 30x40, oil on board SOLD
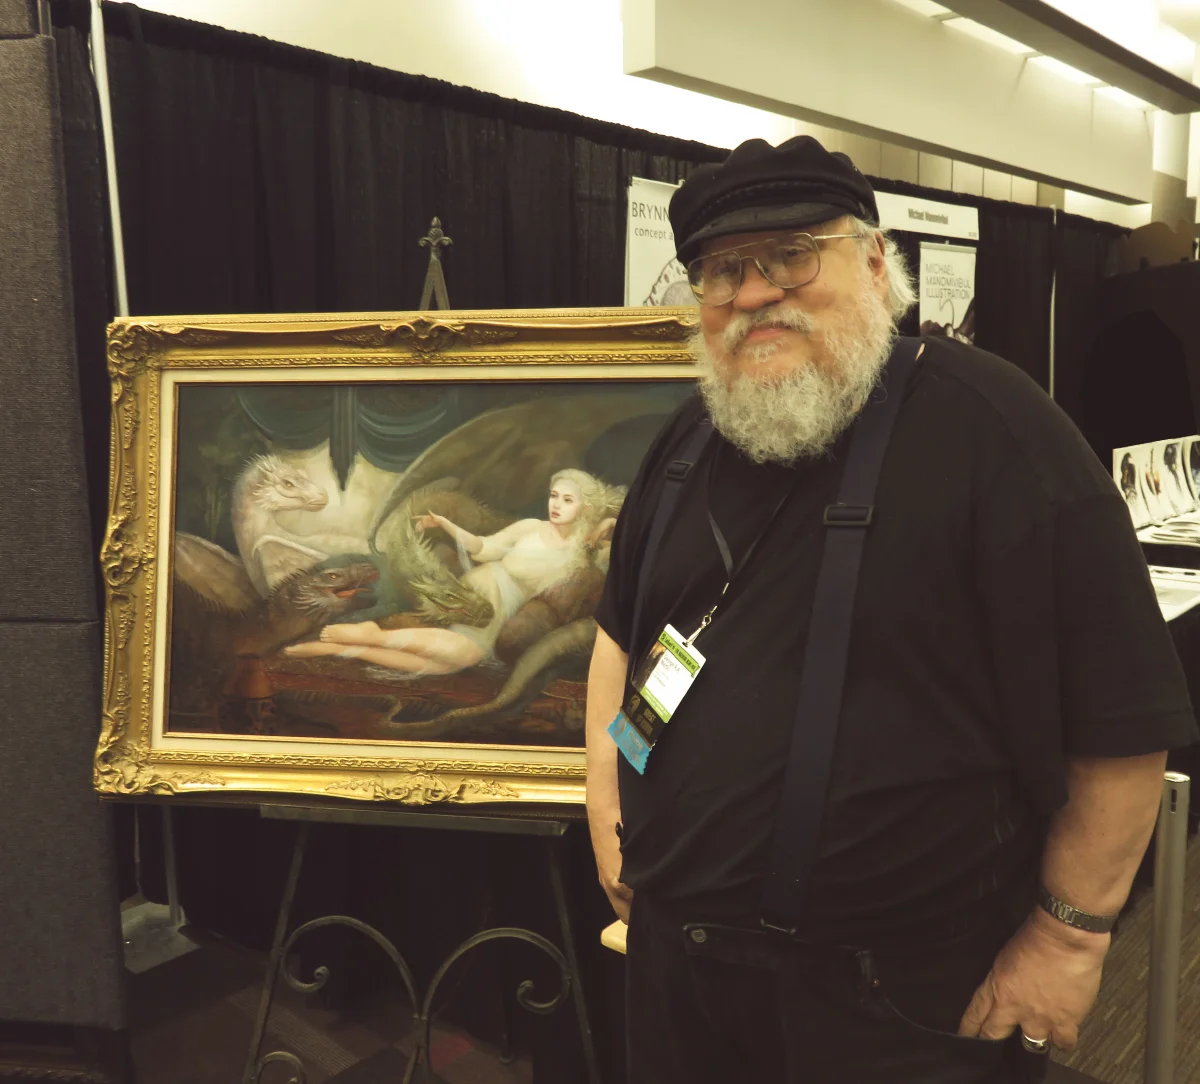
Mother of Dragons

"Mother of Dragons" 36x24, oil on board, June 2015


Spectrum 2015 Wrap Up
We just got home from our week in Kanas City, Mo for Spectrum Fantastic Art Live 4. What an amazing show!
The awards ceremony was held in the Folly Theater, which was built in 1900. Here is a shot of all of the nominees! I was so nervous for them. Every single one of them is extremely talented, and picking the winners this year was very difficult. I think we deliberated along with Greg Ruth, Dice for over 5 hours! The awards this year were GORGEOUS. Kristine and Colin Poole did an incredible job. To see some pictures visit the Flesk Publication blog
Congratulations to all of the winners.. you made our job very tough!

This year's event coincided with ConQuesT 46, where George RR Martin was attending as one of the Guests of honor. On Sunday he stopped by our booth, and we got a picture with my Daenerys commission.

Justin and I were on a panel with the amazing Colin and Kristine Poole, Iain McCaig, Gerald Brom and John Fleskes to talk about the spectrum awards and judging process this year.

Photo by Jeff Smith

We also got a copy of Cathy Fenner's new book, Women of Wonder, which showcases women creators of fantastic art. It has a lovely introduction by Lauren Panepinto. I am ecstatic to have been included with my piece, The Forest Procession, alongside so many artists that I admire. You can read more about the book here.

Thank you to everybody who stopped by to chat. We had a wonderful time hanging out with you guys and can't wait to see everyone again in 2016!
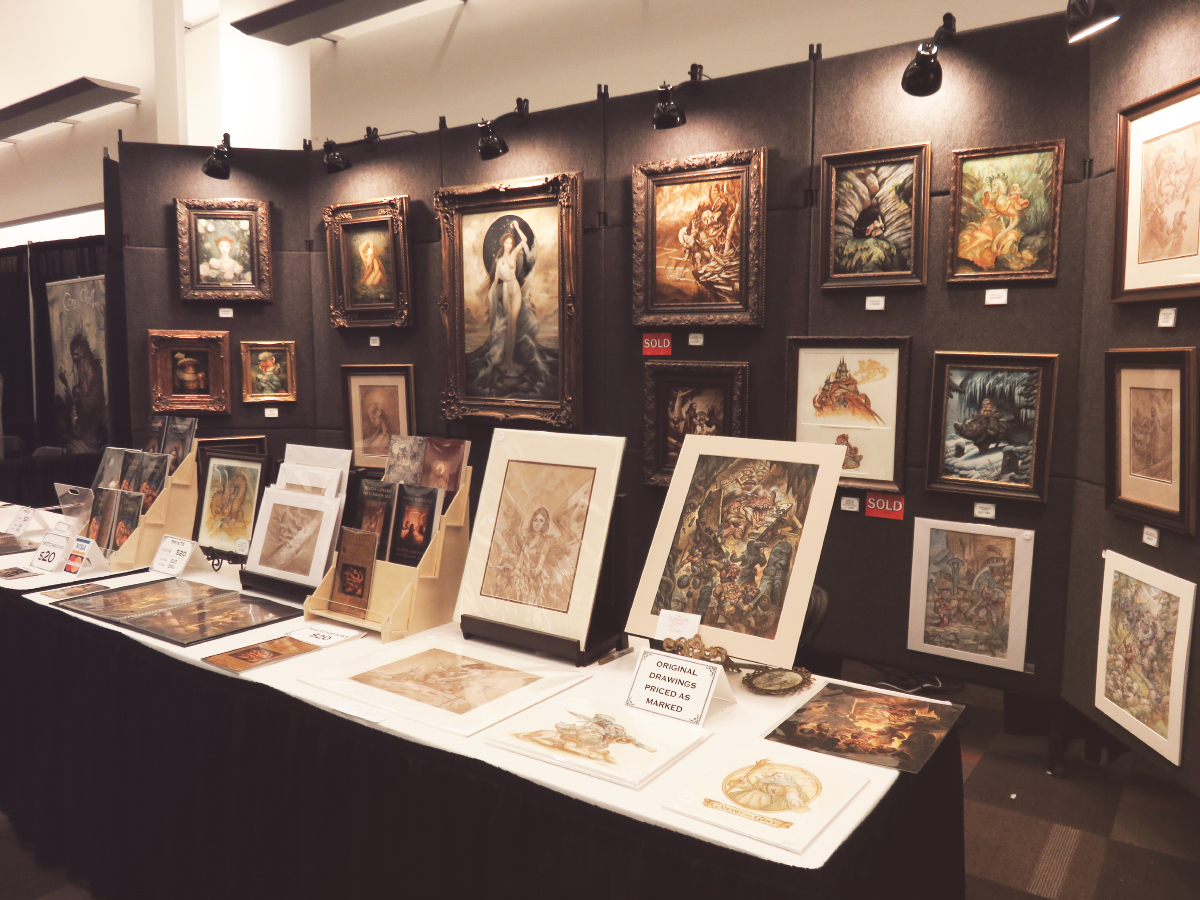
Spectrum Fantastic Art Live 4
This coming weekend Gallery Gerard will be in Kansas City, MO for the fourth annual Spectrum show. Stop by our booth for original paintings, drawings, prints, sketchbooks, live painting...or just to chat! We will be in booth 307&309.
On Saturday at 12:00pm, join us in Room #2101 to talk about the Spectrum 22 judging process.
Free Prints!
The first 5 people to buy a sketchbook from our booth will receive two of our miniprints! Both images will be appearing in the new Spectrum 22 book.

ere are some sneak peeks of the originals that we will be selling at the show this year. See you there!

"Moonchild" Annie Stegg Gerard, 24x36 oil on board

"The Wrong Door Study" Justin Gerard

"Awakening" Annie Stegg Gerard, 11x14 oil on board


Toned Drawings, Justin Gerard
The Last of His Kind

"The Last of His Kind"
by Justin Gerard
11" x 14"
Oil and Digital
I will be displaying the original in Kansas City at Spectrum Live next month. The original is painted on panel in monochrome oils. To see more of the development work visit the previous post here!

24x36 oil on panel
On the Easel
Limnaee of the Lake
A new piece for Krab Jab Studio's couples show, Marriage is a Work of Art opening this Saturday, Apil 11th at 6pm-9pm PDT.
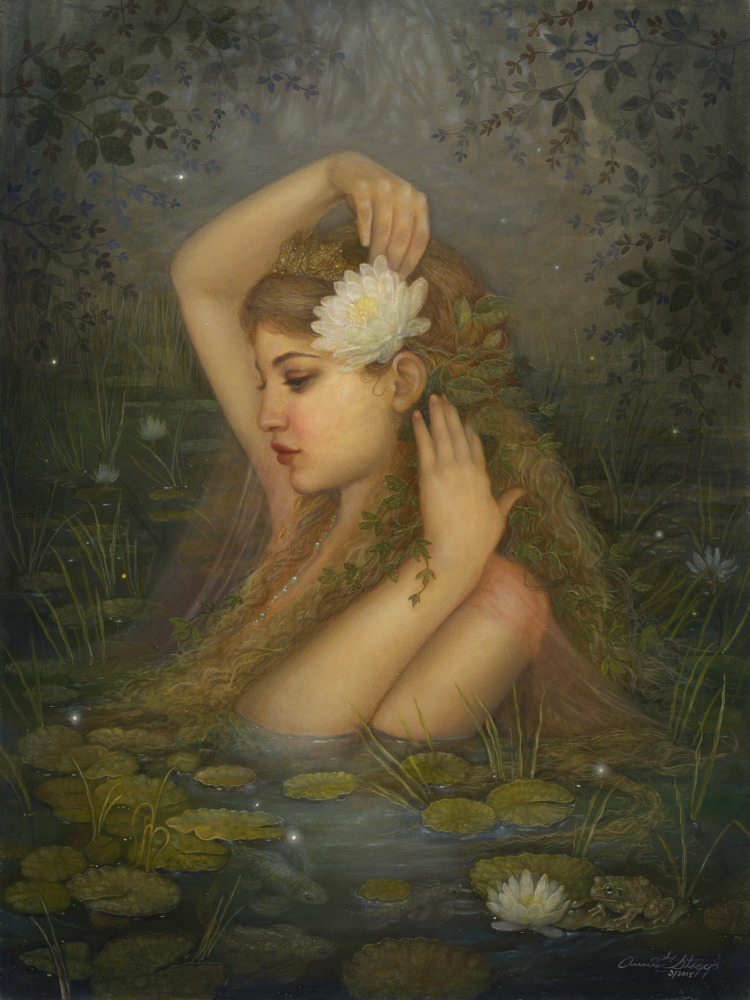
12x16 oil on panel
I will also have the drawing available for purchase at the show!


"The Last of His Kind"
Drawing on toned paper.
The Last of His Kind Development Work
As many of you know or suspect, I prefer watercolor, pencil and digital to working in other mediums. There is a energy and vitality to working with lines that I can't seem to get in other ways.
Also, watercolor and pencil has become comfortable routine action for me; like making cheese toast, or asking someone else to make me cheese toast.
Oil Painting on the other hand is something more stressful, like amateur bomb defusal. (red wire or blue wire? I DON"T KNOW I'M CUTTING ALL THE WIRES)
Still, sometimes I get an image in my head that just won't work with watercolor and pencil. It needs more 'oomph'. And there is nothing like working in oil for achieving oomph.
And lacking a mast to tie myself to, I cannot ignore the siren song of Rembrandt. So I dig out the Old Holland paints and walnut oil to try my hand at it again.
So for this week's post I am sharing a work in progress of oil I have been working on. I hope you enjoy.

Acrylic underpainting on gessoed 11x14 panel

Monochrome oil over the acrylic on panel
The final painting will be available to see in person at the KrabJab show, "Marriage is a Work of Art" debuting April 11. It will be there alongside Annie's gorgeous painting that she will be revealing later this week.
In Closing: Please remember to observe April Fool's day by asking all your friends what they got their mothers for Mother's Day.
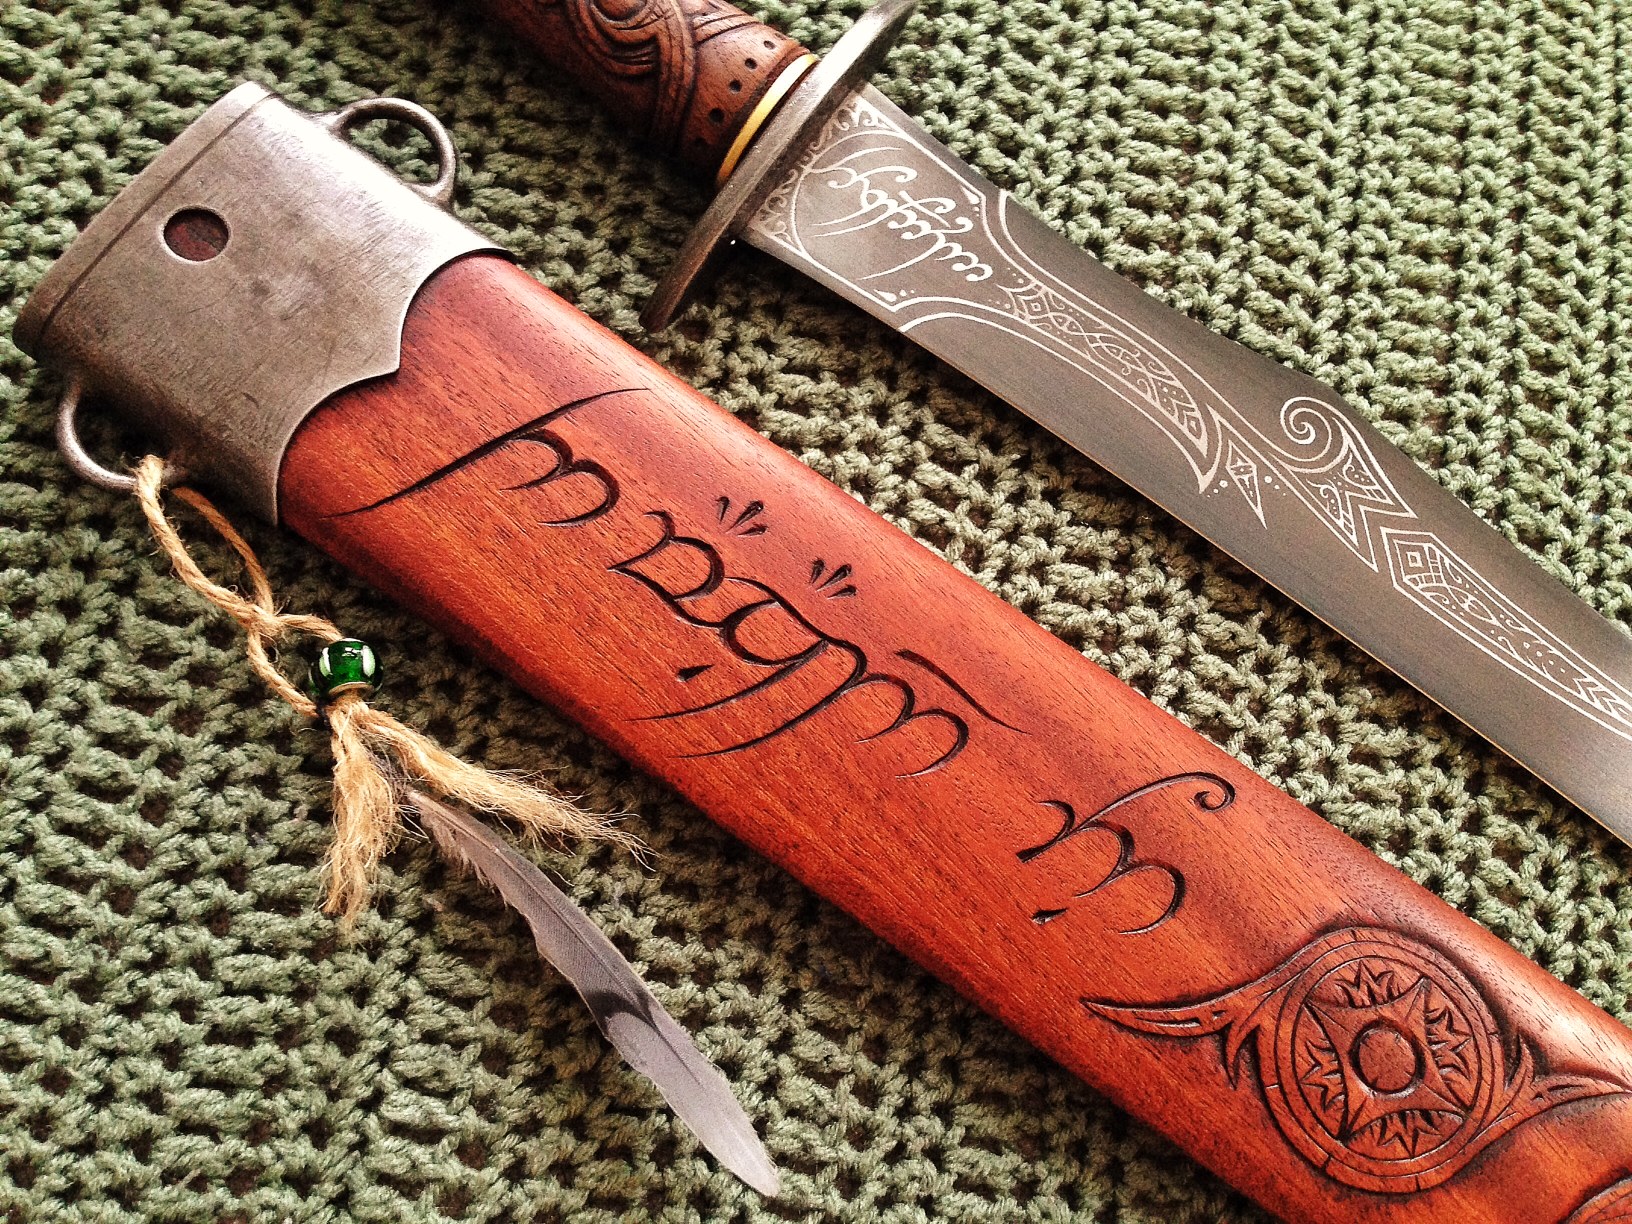
The Making of Thorondún
By Justin Gerard
THIS IS AWESOME.
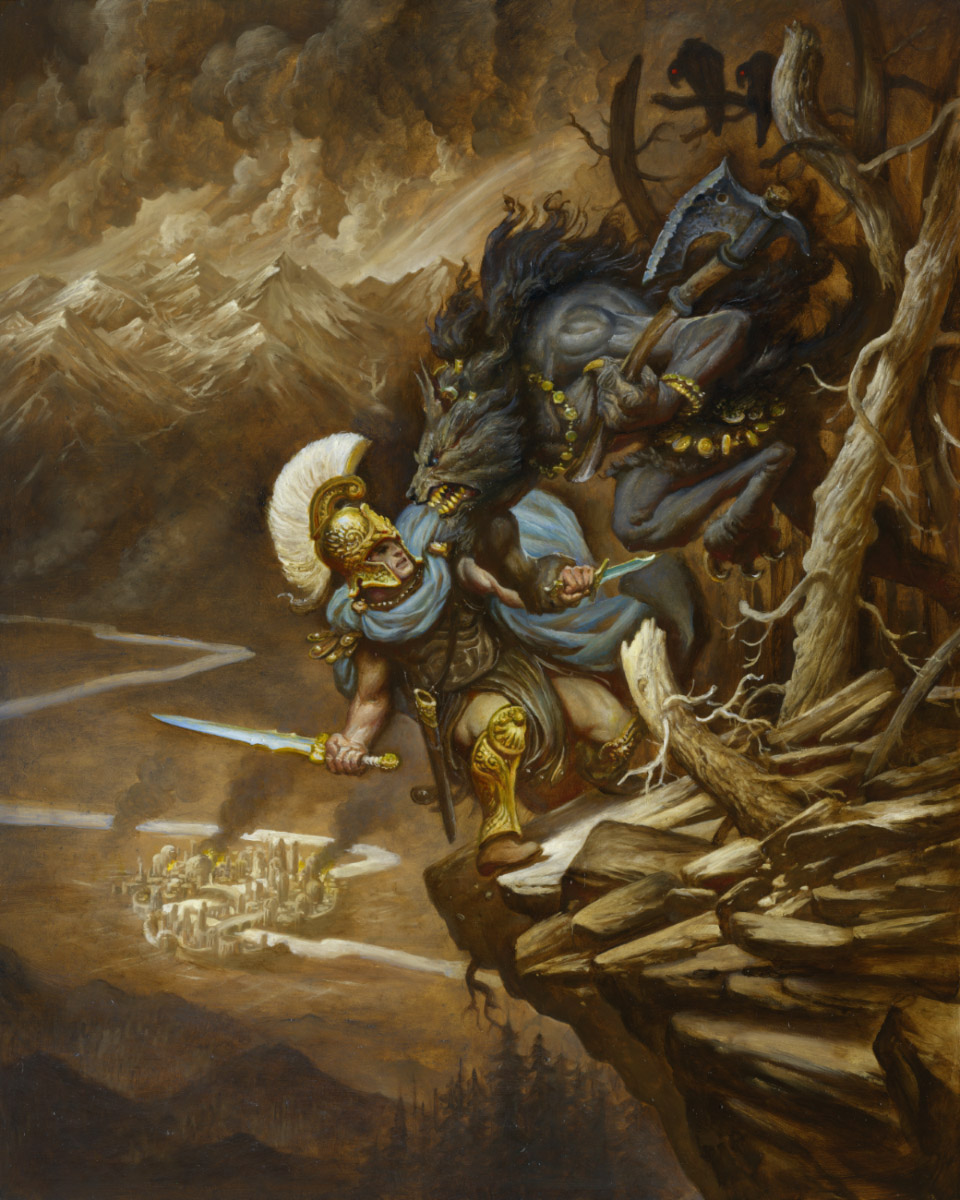
A few years ago I painted a number of paintings from JRR Tolkien's The Silmarillion that featured the elf warrior Glorfindel and his battle with a balrog.

Then when Annie and I got married, longtime friend, colleague and Person-of-the-Year Award Winner Cory Godbey got in contact with David DelaGardelle, a fearsomely talented swordsmith, about the possibility of taking the sword from the Glorfindel image and actually forging it.
David Delagardelle has been designing and making swords for over 10 years and runs the Cedarlore Forge. His work has a strong celtic and Tolkien influence and he has designed many swords and weapons around figures and myths from Tolkien. The weapons he makes are some of the most wonderfully designed and patterns I have ever seen. He takes the time to research and design each blade specifically to the story of its bearer.

Now what is truly amazing about this project is that David and Cory did this without me knowing it. And this made it very tricky because I designed the Glorfindel sword in my artwork not only on functional principles but also a design element meant to lead the viewer along the composition. Because of this, there were certain aspects of the blade that defied logic to someone familiar with designing and forging blades.
I never designed the sword in the artwork with the idea that it would someday have to actually be forged. Still, in spite of these apparent barriers, David was able to take the design and with a little tinkering, turn it into a completely functional design which he was then able to hammer into this amazing blade.

After the amazing work in actually designing and forging the shape, another type of magic begins. At this point David then goes in and adds the fine details, completely by hand, using chisel and acid to not just the sword, but also the scabbard. David is an accomplished 2D artist, and his elegant pattern and decorative work sings as it takes these blades to entire new levels of art. His attention to detail in his designs is remarkable, all the way down to his research of the names and histories of the weapon, which he carves and etches directly into the weapons, imbuing them with the same sense of rich history that Tolkien gave to Middle Earth.
This is truly one of the coolest things i have ever seen in my life and it is an absolute honor to have one of David's swords in my home. I am so pleased to be able to share it with you here. If you haven't already, you have got to check out his work at Cedarlore Forge.

On the Easel...
By Justin Gerard


The Other Side of the Mirror- The Historian
Hey guys! We wanted to show some more working images for our story, "The Other Side of the Mirror".


The Other Side of the Mirror
Hey guys! I wanted to share a few sneak peeks of some of the paintings and working images Justin and I will be debuting in June for our joint Gallery Nucleus show. We have been working on a short story that we are both illustrating, and all of the pieces for the book will be available at the show. We have been working on this book since early last year, and are very excited with how it has been developing. We will be posting more images as we complete them, as well as more working images!

12x16 oil painting by Annie Stegg Gerard
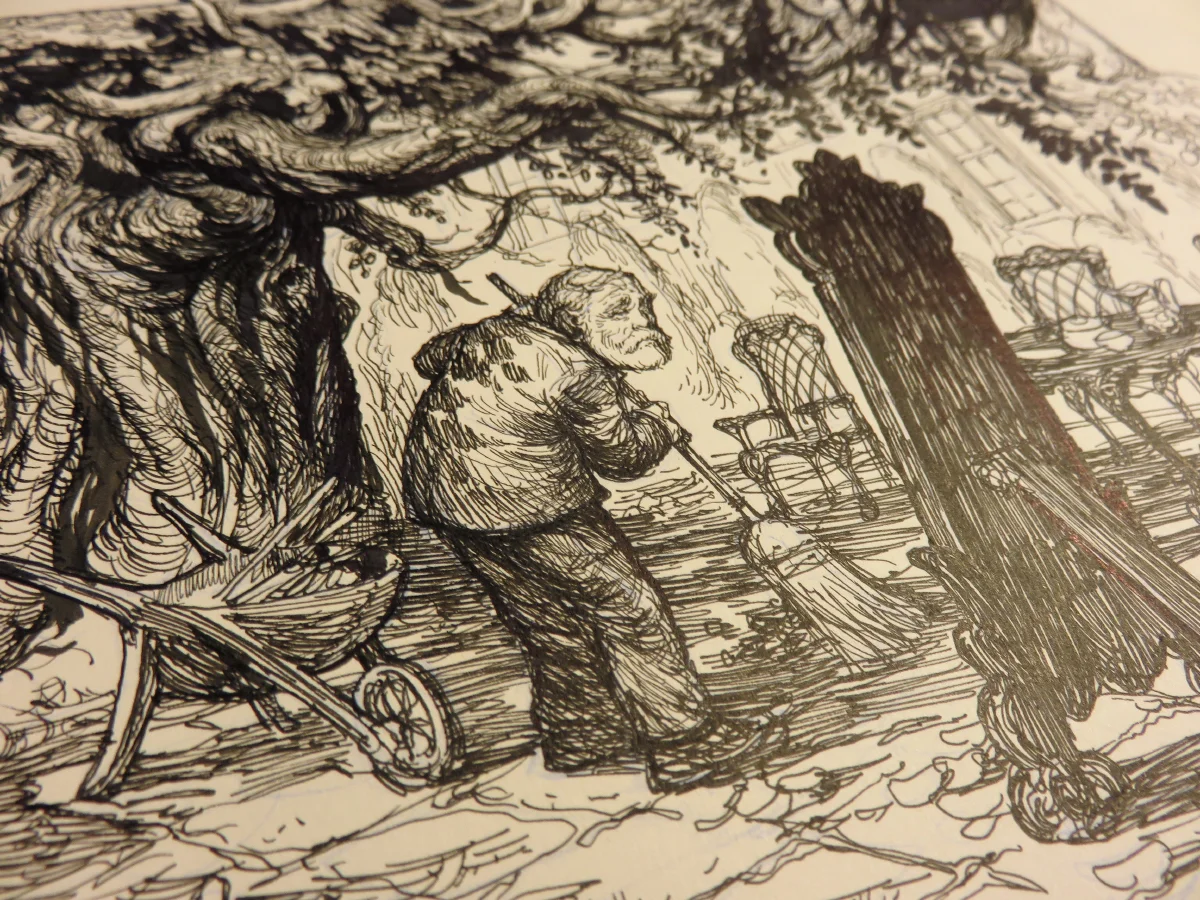
Pen and Ink drawing by Justin Gerard
IFX 120 Workshop
Hey guys! I recently finished a workshop for the new issue of IFX and it is finally available!
Check it out here!

Dryads and Fauns Miniature painting series
Justin and I will be participating in Krab Jab Studio's third annual Faerie show with four new miniature paintings. We have been working on a series of Dryads and Fauns using some of the vintage brass frames I have been collecting. The first of the series was Morea, who I did a demo on at the beginning of the year. All four will be available for purchase at the show.
March 14th
FAERIE III Opening Reception
6 - 9 pm
Curator Talk 7:30 pm
krabjabstudio@gmail.com
"Ptelea" the nymph of the European elm
Annie Stegg Gerard
4"x6"
oil on Strathmore series 500
"Faun of Ptelea" the faun of the European elm
Justin Gerard
4"x6"
watercolor on Strathmore series 500
*framed under vintage bubble glass
"Faun of Karya" the faun of the nut tree
Justin Gerard
2.5"x3"
oil on Strathmore series 500
"Karya" the nymph of the nut tree
Annie Stegg Gerard
2.5"x3"
oil on Strathmore series 500
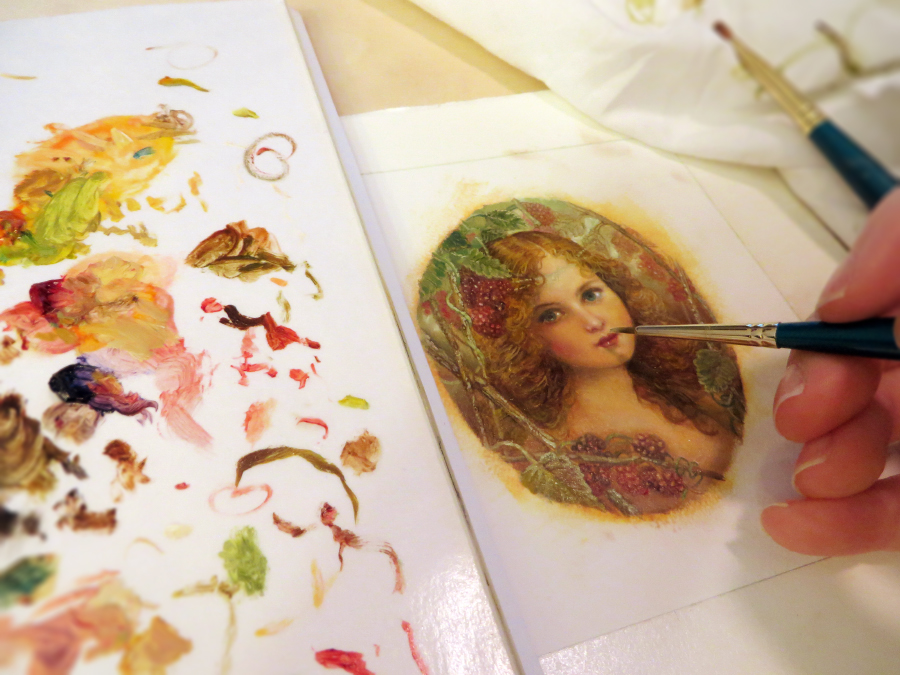
Miniature painting demo
Hey guys! Justin and I are working on a series of mini paintings of Dryads and Satyrs. My first painting in the series is Morea, the dryad of the mulberry tree. I thought I would document the process as I went along.
Step 1: The drawing

After deciding on a thumbnail I like, I transfer it to Strathmore series 500 paper by shading the backside of the thumbnail paper and tracing over it with a sharp pencil. The lines will be transferred to your new paper using this "carbon copy" technique.

I like to use the Prismacolor col-erase brown pencils to create the final drawing. In this case, the drawing is going to act as the underpainting for the image. Normally I would use paint for this stage but because this image is only 2.5x3 inches, pencil seems more appropriate. I pay attention to the overall lighting of the piece during this step to make the painting process run more smoothly.
When the drawing is complete, I seal it using golden matte medium. This protects the paper from the oil that is going to be applied in subsequent steps, ensuring that the painting is archival. Be sure the matte medium is 100% dry before you start adding oil.
STEP 2: Blocking in color

Once a palette is determined, rough colors are applied in light layers. I like to keep the pencil lines visible to act as a guide as I build color. After this step, I set the painting aside to dry.
STEP 3: Glazing

Using walnut oil alkyd, I mix hansa yellow and alizarin crimson to make a golden orangey hue. I apply this to the surface of the painting. Remember to observe fat over lean. If you use too much oil, it will bead up on the surface.
This step unifies the lighting in your piece. I am going to repeat this step many times before the piece is completed.

STEP 4: Detailing
While the surface of the painting is still wet from the previous glaze, I like to add a detail layer. Using a fine tipped brush and mostly titanium white paint, I can add in the highlights.


When detailing my image, I like to use one sharp tipped brush (Pointed Round 3×0) and one older brush that is a little frayed (Angled shader 1/8") After the sharp details are added with the fine tipped brush, I can go back soften them by dabbing them with the frayed brush. In the example above, you can see what the strands of hair look like before they are softened.
STEP 4: REPEAT, REPEAT, REPEAT!
So typically for a piece like this, I will do steps three, four, maybe even a dozen times. It is crucial to make sure the painting is dry each time you cycle through these two steps. When you glaze the piece, your highlights will become diminished, but don't panic! Just paint them back in during the detail stage. This allows the painting to gradually build dimension and vibrant color.

STEP 5: Presentation

For this image, I have chosen a vintage early 1900s solid brass filagree Italian frame. I have been collecting these tiny frames, and have a little stockpile built up that we will be using for all of the paintings in this series.
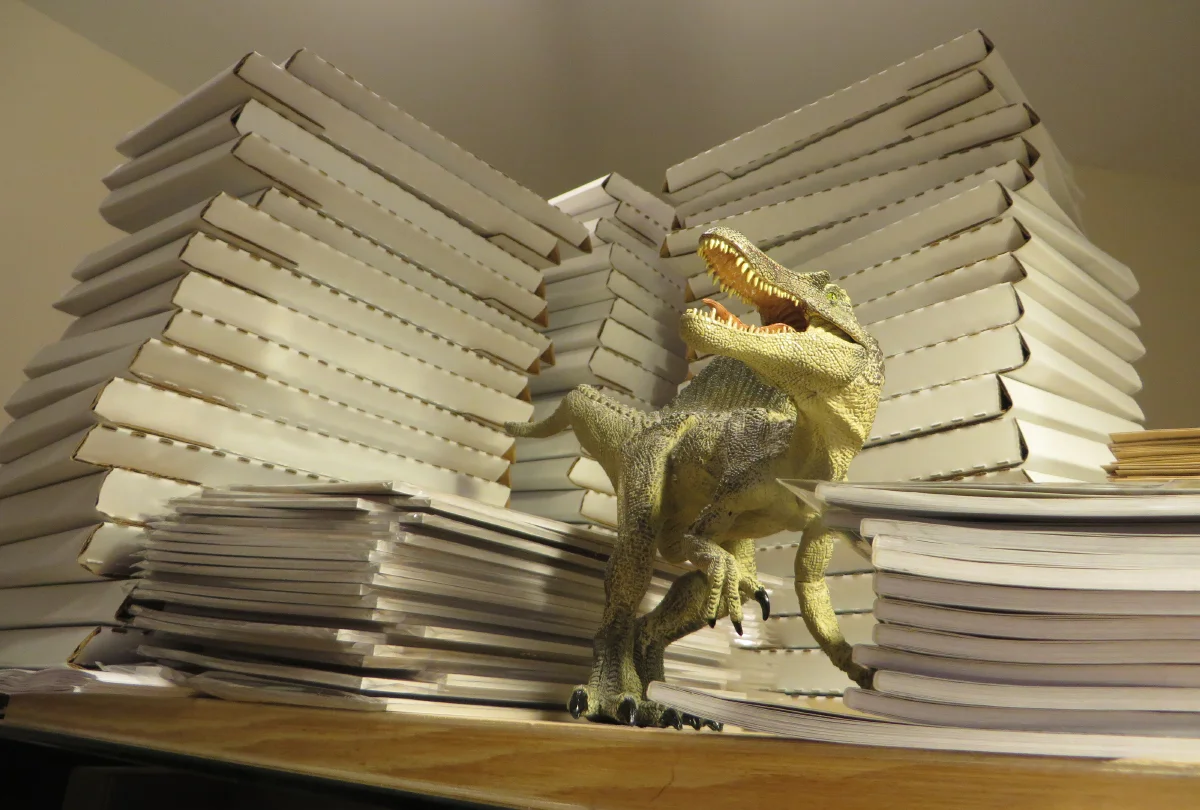
Sketchbooks 2014 mailing out!
Hey guys! The orders are in, the books are packed and we are mailing out all the orders! It's been an industrialized assembly line here at Gallery Gerard. We've got everyone packing and stamping and boxing, all in a line. It's going great, (though there has been some union talk among the cats who are demanding lighter hours and more catnip. The hairy little ingrates!)
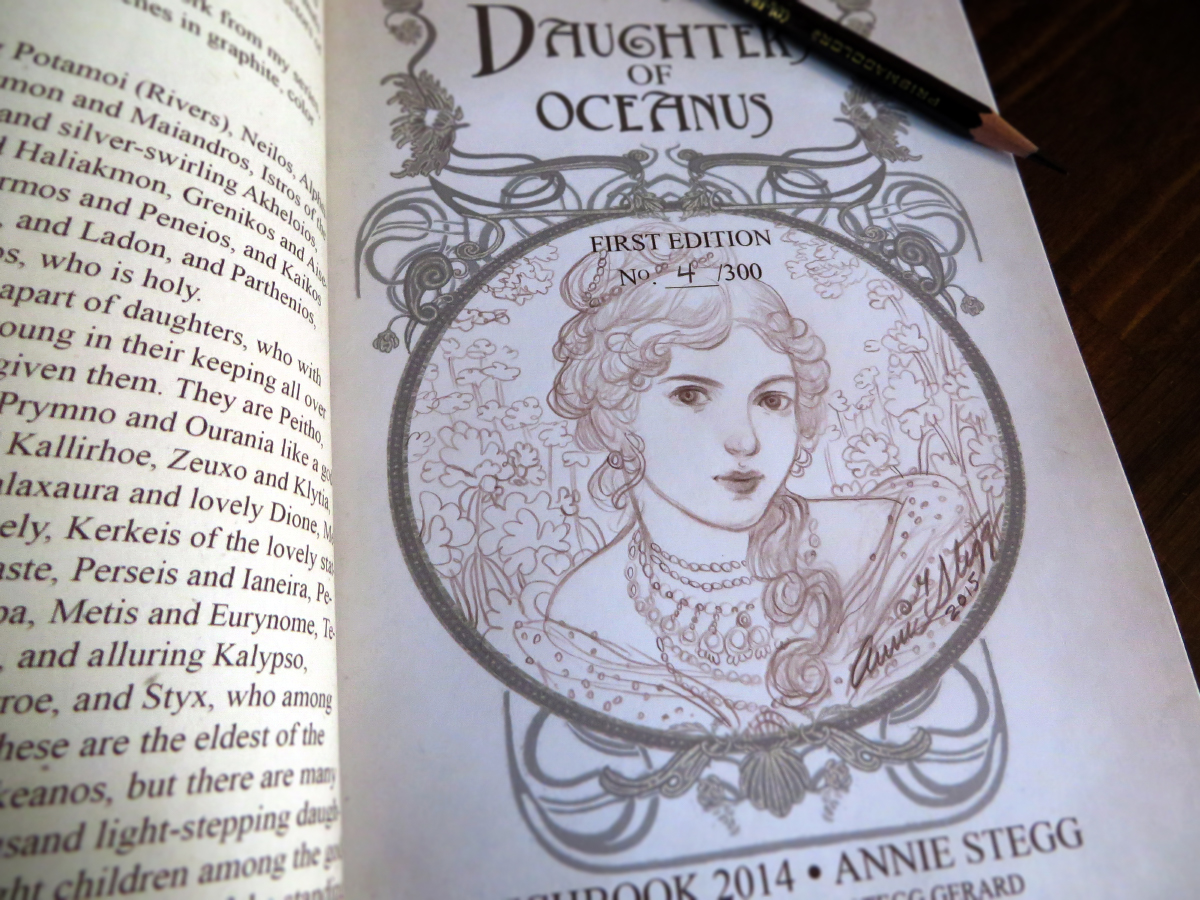
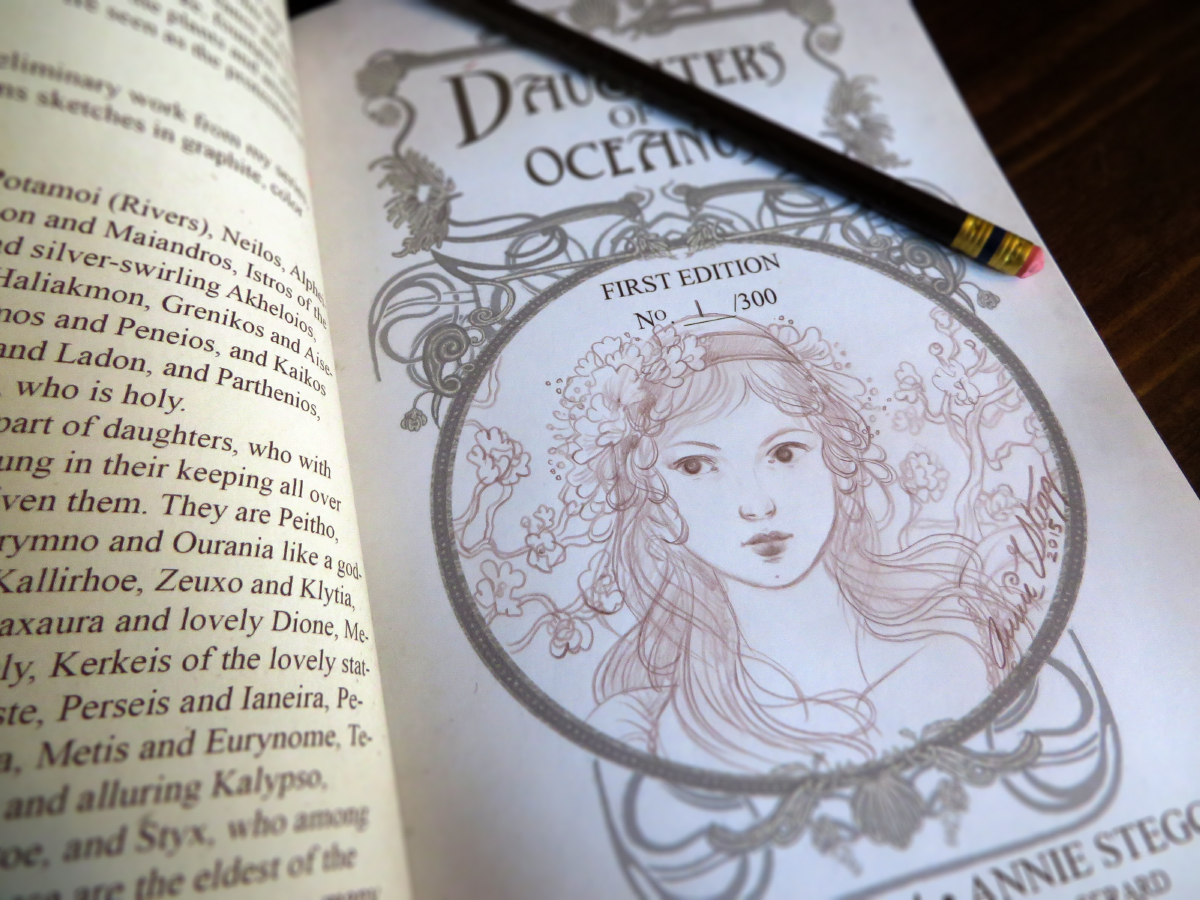
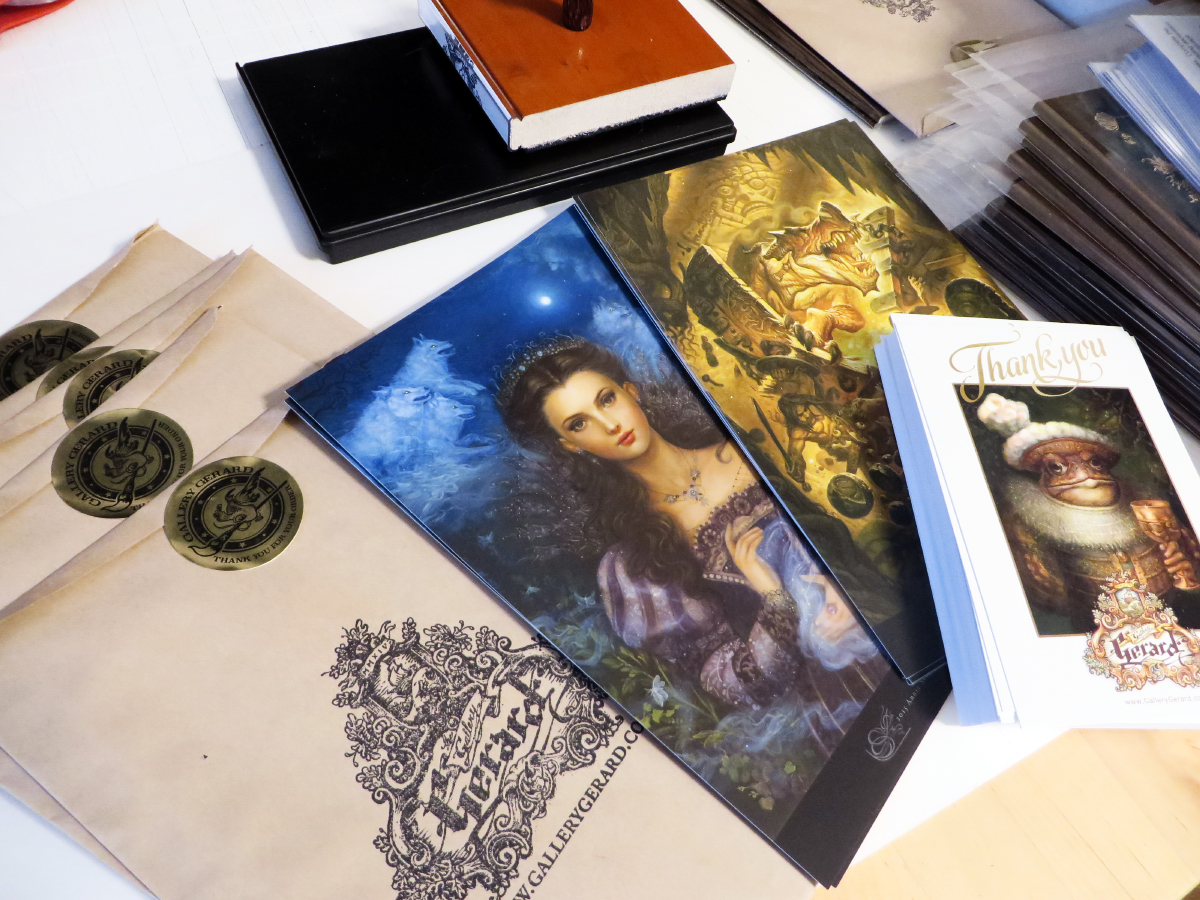
For those of you who ordered special edition books, here is a sneak peek of what you will be receiving in the mail!
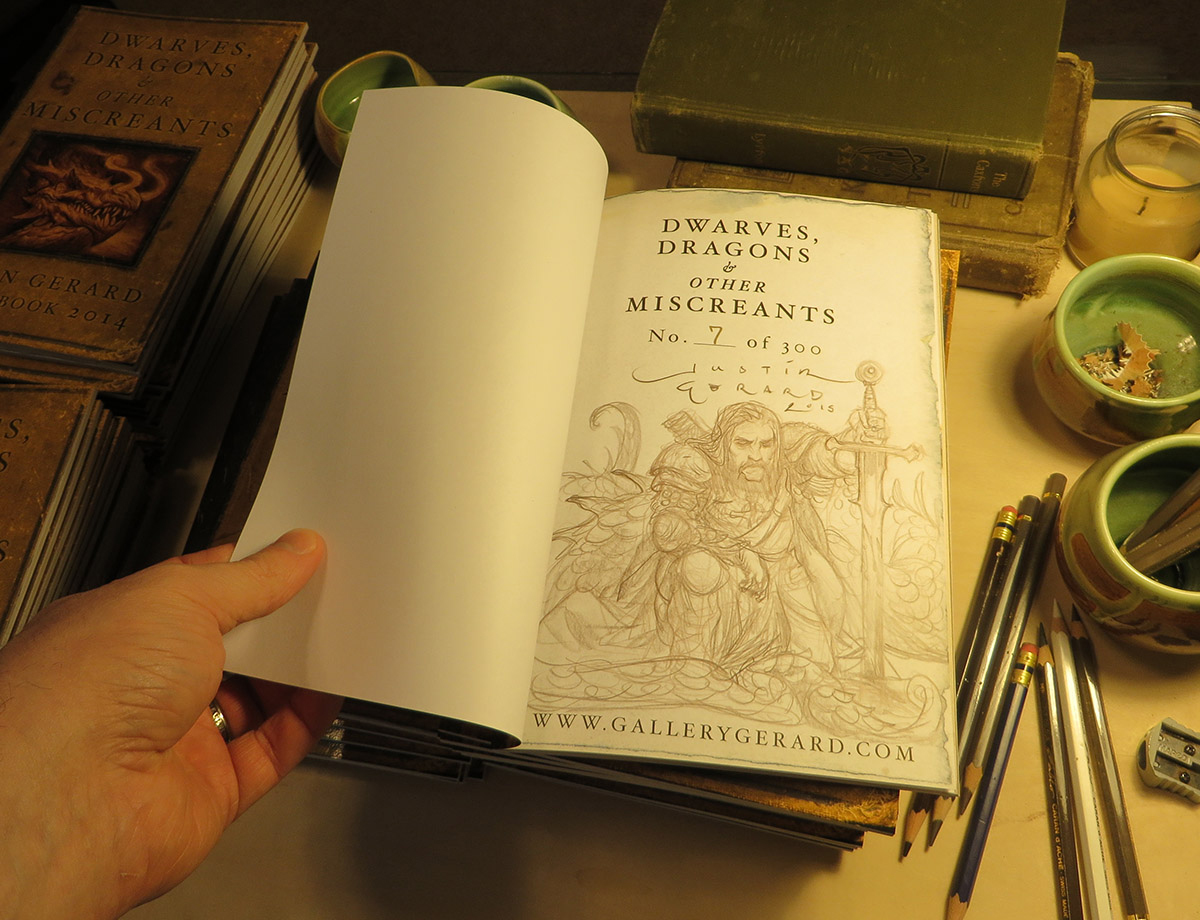
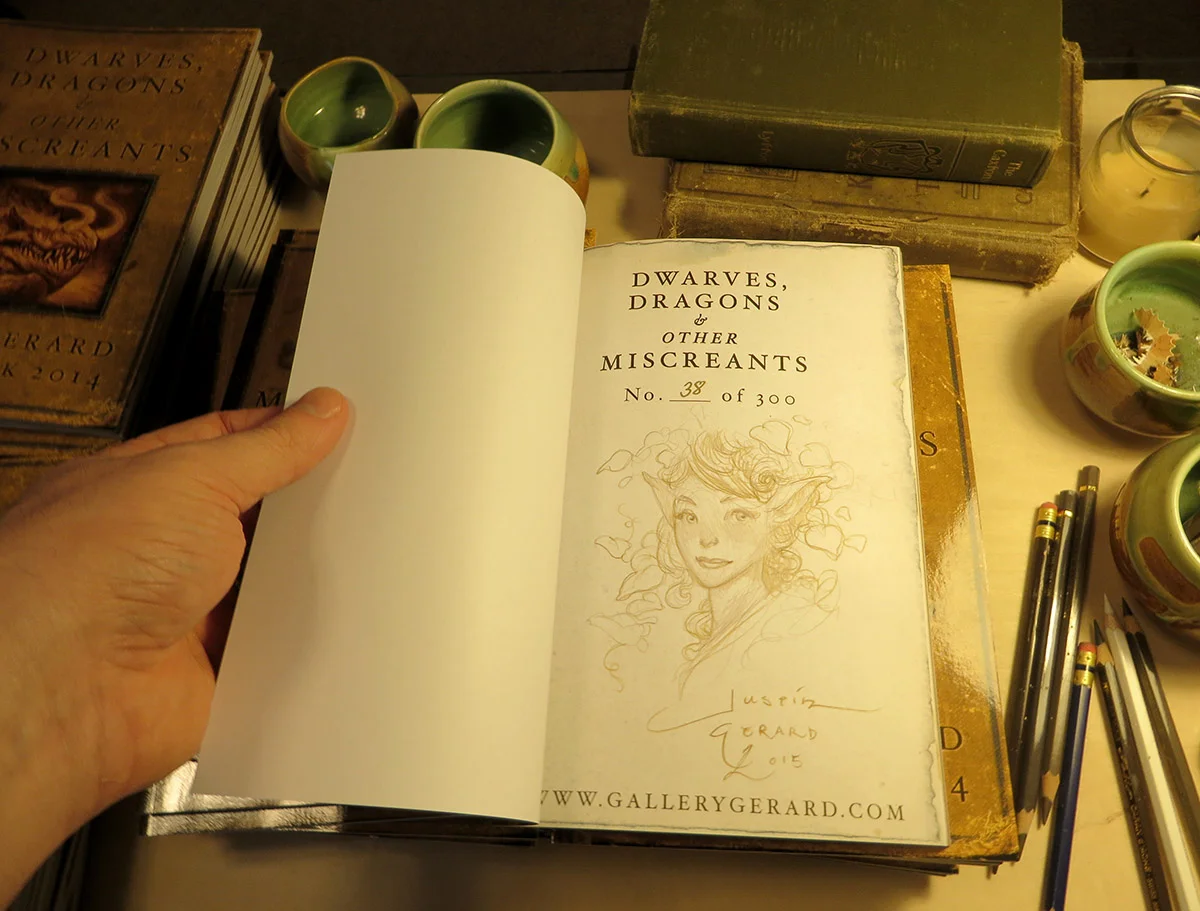
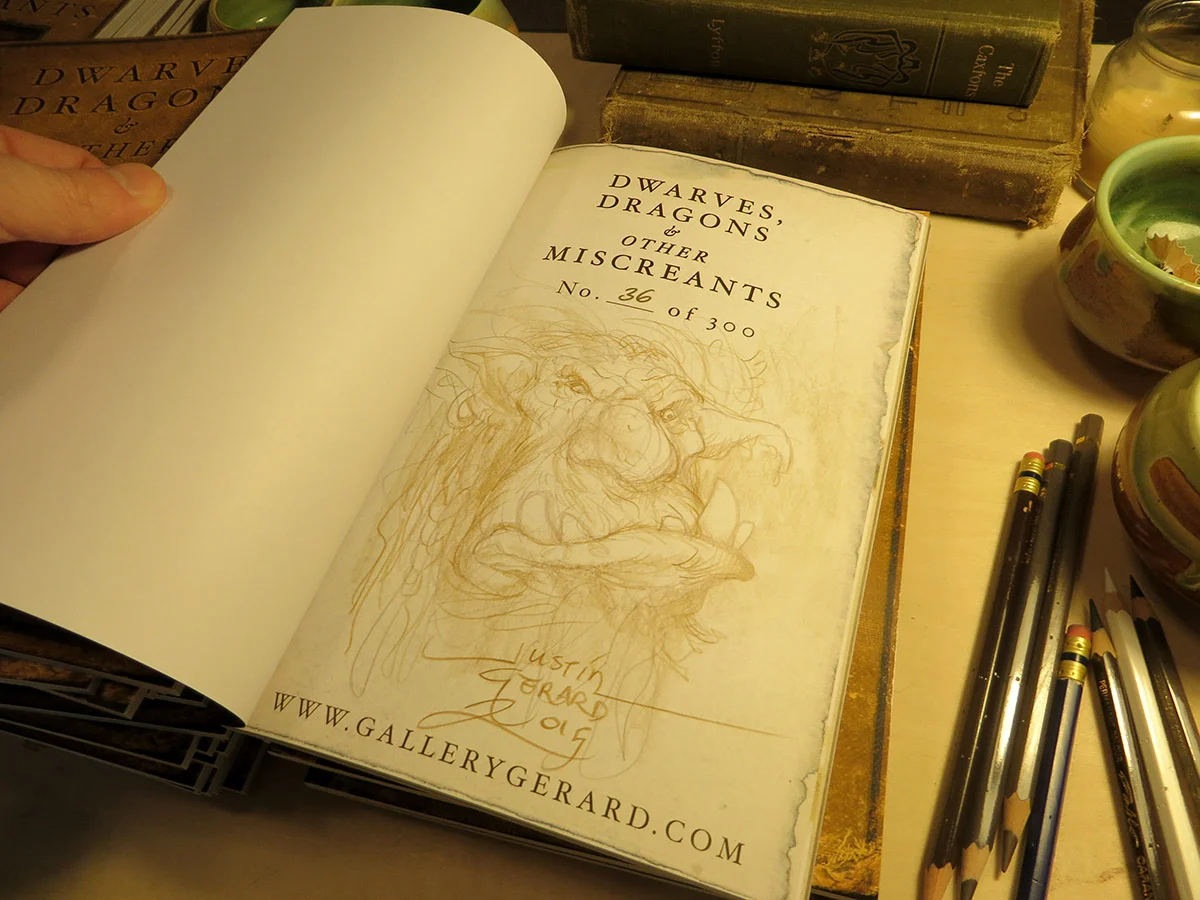

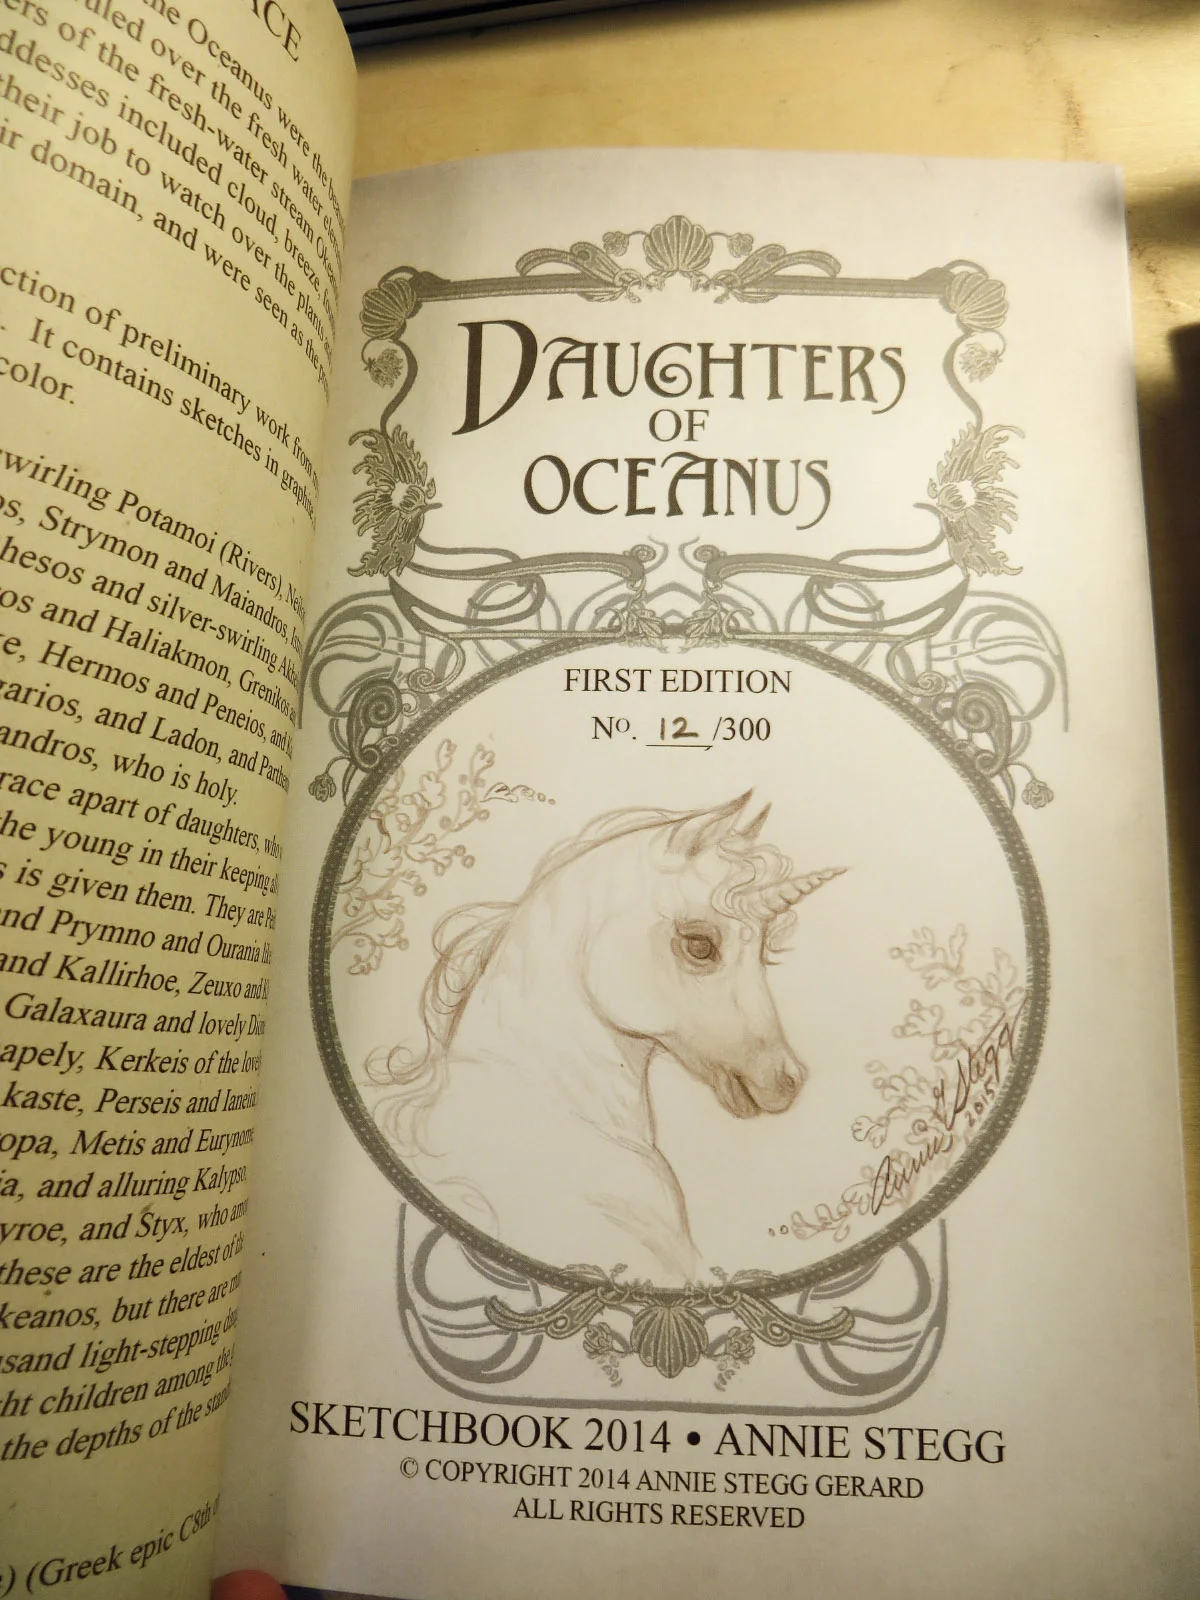
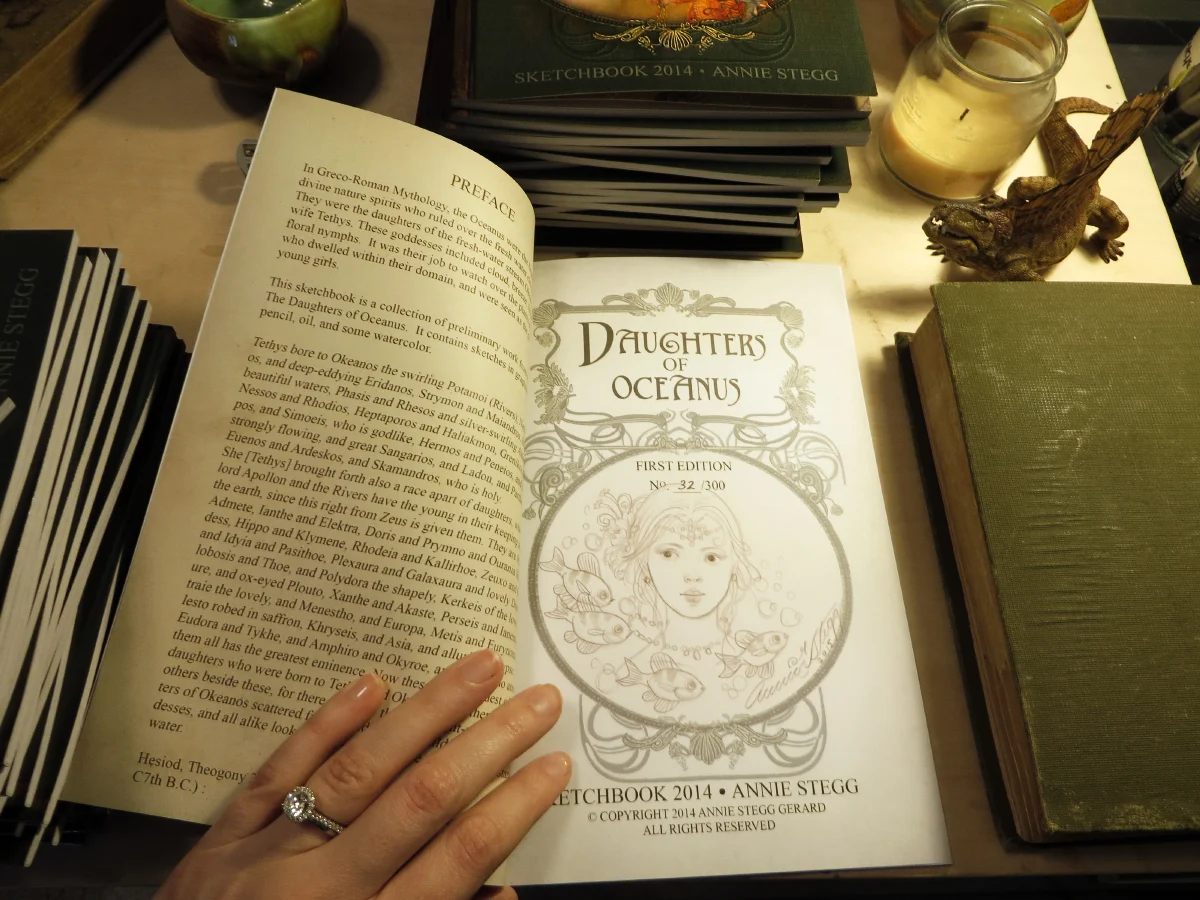

Sketchbook Special Edition Sketches Preview
Hey guys! We wanted to show a few of the drawings we have been doing in the special edition sketchbooks. There are just a few left, and they can be purchased in our shop.
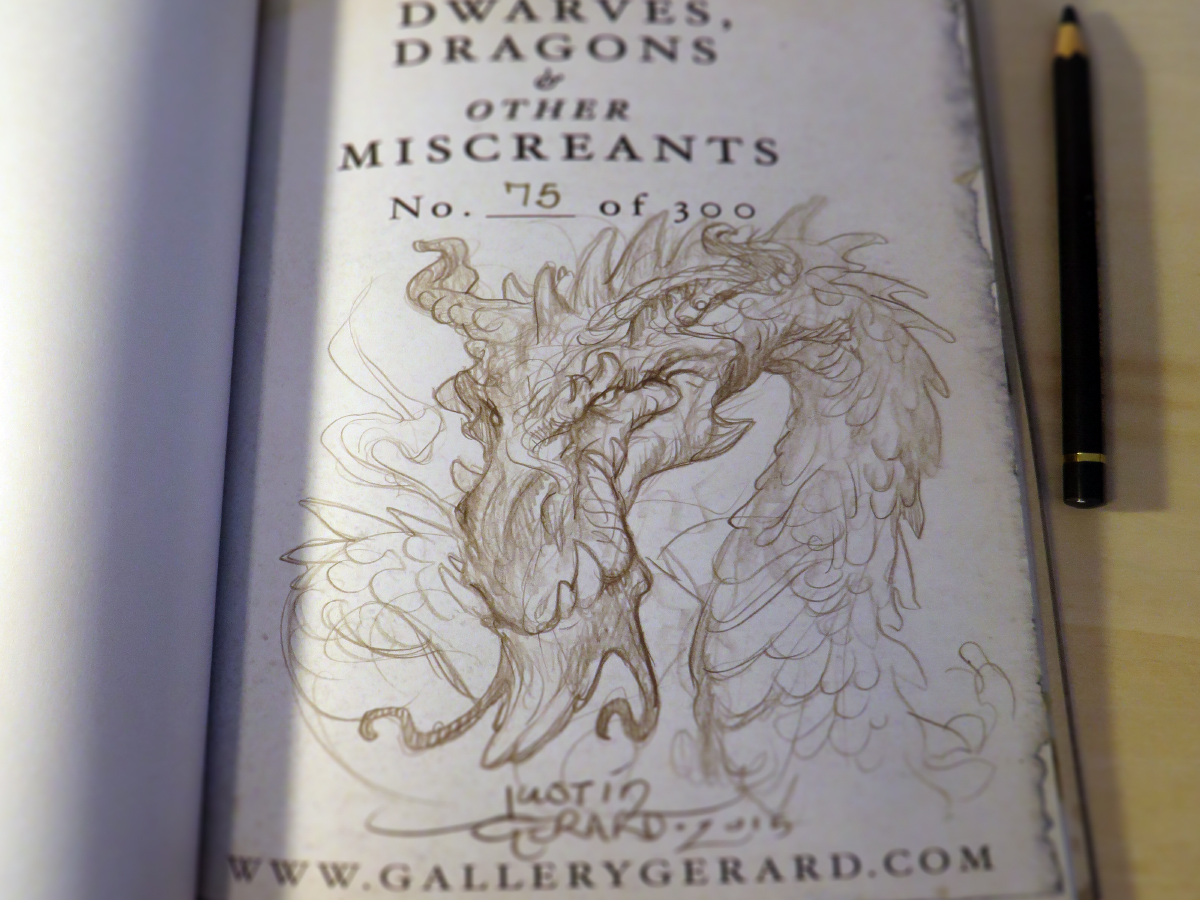
Here is Justin's preview:

And here is Annie's: